Notebooks List
The Notebooks List displays a listing of all the notebooks in your current workspace.
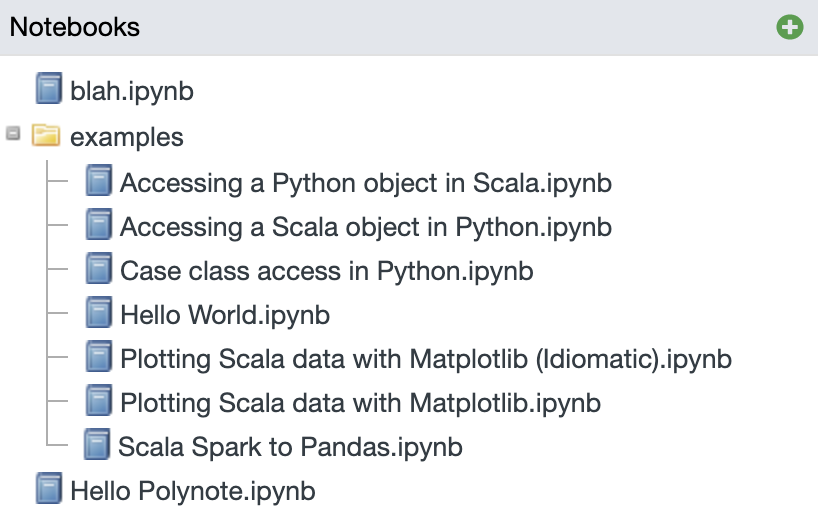
Notebooks are displayed in a directory structure.
Clicking on a notebook opens it, and clicking on a directory expands or collapses it.
Tip
The current workspace can be set in the Storage Configuration.
Creating a new notebook
You can create a new notebook by clicking on the green plus sign
 in the corner.
This will bring up the Create Notebook Dialog, where you can enter the notebook name. If a notebook with that name already exists, a number will be appended at the end of the filename.
Tip
Any slashes in the notebook name will place your new notebook in a directory (creating them if they don't already exist).
Addiitonally, Polynote will add an extension if you don't specify one.
For example, typing in foo/bar/My Notebook will create a My Notebook.ipynb file and put it into a directory
named bar, within a directory named foo.
Importing a notebook
Importing a notebook into Polynote is as simple as dragging and dropping the file onto the Notebooks List!
Supported import formats
Polynote supports importing your existing Jupyter .ipynb files and Zeppelin .json files. Zeppelin files will be
automatically converted into .ipynb files upon import.
Note that Polynote doesn't do any translation of the notebook contents, so any platform-specific features, such as
Jupyter "magics" (like Toree's %AddJar) or Zeppelin's z.load syntax will need to be manually converted.
Rename, Copy, Delete
You can Rename, Copy, and Delete notebooks using the Context Menu, which you can bring up by right-clicking on a notebook.
Here's a demonstration of Renaming a notebook using the Context Menu. The Copy and Delete functions work rather similarly.